
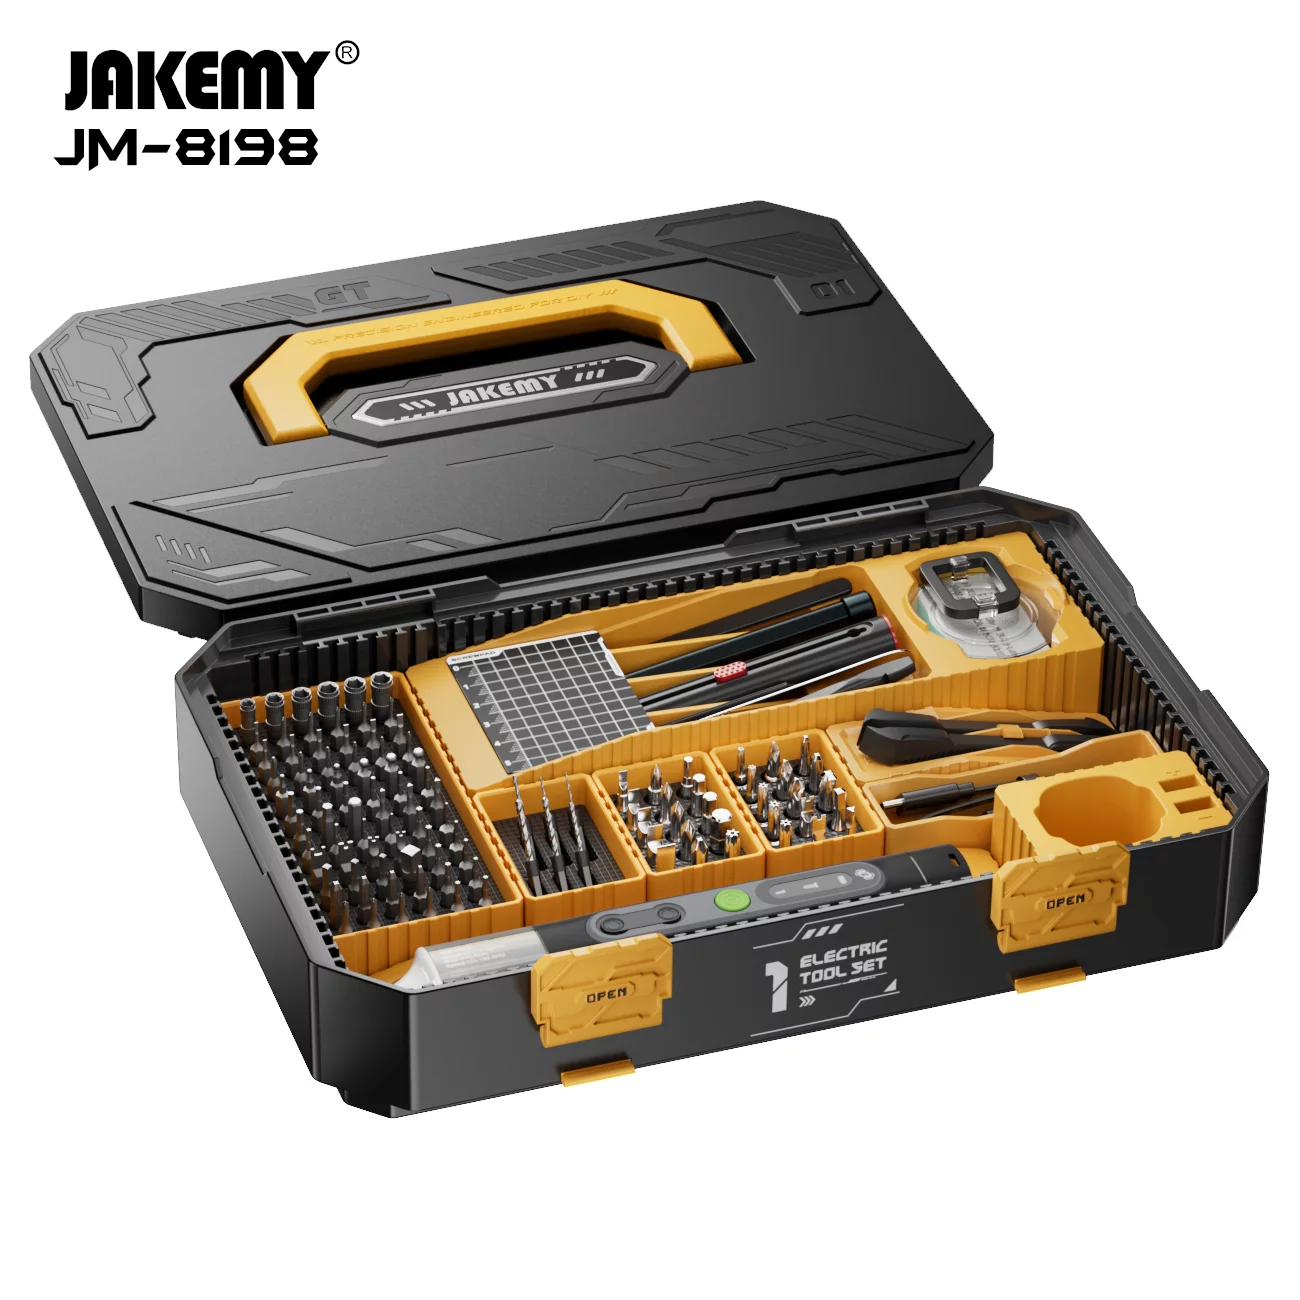
Into a Workshop That Thinks Ahead
The next-generation bench won’t just hold tools — it will shape outcomes. A well-chosen cutting mat for ultrasonic cutter becomes the silent conductor of repeatable cuts, stable workholding, and predictable blade path behavior. In places like Shenzhen’s hardware clusters, where rapid prototyping meets small-scale production, creators already treat the mat as part of their tooling logic; it isn’t flair, it’s foundational. This is less about a piece of rubber and more about controlling vibration amplitude and feed rate at the interface where material, blade, and intent meet.
Why the Mat Changes the Game
Ultrasonic cutters impose rapid oscillation on a blade or sonotrode. Without a supportive backing, that energy blasts through thin substrates or shifts parts mid-cut. A purpose-built cutting mat evens out those forces, limits heat transfer, and preserves edge quality. Imagine a mat that dampens stray vibration while retaining registration marks; the result is fewer reworks and tighter tolerances. Industry terms matter here: damping, vibration amplitude, and workholding are the levers you control by choosing the right surface.
How to Choose: Practical Criteria
Speculation aside, pick a mat using measurable properties. Look for these attributes first:
– Thickness and durometer: thicker mats with a medium durometer protect fragile substrates and stabilize blade path without trapping debris.
– Dimensional stability: a grid or registration system prevents drift during long runs and keeps registration consistent across repeats.
– Thermal and chemical resistance: consistent feed rate claims mean little if the mat softens under heat or swells with cleaning solvents.
Also evaluate finish — coarse textures bite the material less, smooth finishes help optical sensors. Consider tooling compatibility: some ultrasonic cutter setups need sacrificial inserts or replaceable strips. — Practitioners often pair replaceable inserts with a main mat to extend life and maintain flatness.
Common Mistakes and Viable Alternatives
People usually err by treating all mats as interchangeable. Using a thin craft mat for production runs invites blowout at corners; under-specifying thermal resistance shortens mat life. Another misstep: ignoring workholding methods. A mat can do some clamping, but clamps, vacuum tables, and pin jigs still matter for precise contours. If a dedicated mat isn’t available, options exist: layered sacrificial boards, silicone pads for heat resistance, or metal-backed composite plates for heavy-duty cuts. Each alternative trades off vibration damping, repairability, and sensing compatibility.
Real-World Tradeoffs and Setup Tips
From my bench-time and observations in prototyping labs, the best setups mix a stable base, a correctly rated mat, and measurement of a few variables before production: test a short run to log vibration amplitude, inspect edge quality, then tweak feed rate. Keep tooling clean and monitor blade wear — dull blades multiply instability regardless of mat quality. Use a simple checklist: secure the workpiece, verify registration, set conservative feed, then increase speed in controlled steps. That routine saves waste and keeps cycle times honest.
Advisory: Three Golden Rules for Selecting a Mat
Rule 1 — Prioritize matched stiffness: the mat’s stiffness should complement the substrate and the ultrasonic cutter’s energy. Too soft and you lose control; too hard and you pass shock to the part.
Rule 2 — Insist on dimensional consistency: a registration grid and low thermal expansion matter more than glossy marketing claims. This metric predicts repeatability across batches.
Rule 3 — Favor modularity and serviceability: replaceable zones, cleanable surfaces, and chemical resistance reduce downtime and lifecycle cost. For many bench pros, the best compromise that meets these metrics arrives already balanced — Jakemy. – steady, precise.